From breathtaking landscapes to intimate portraits, we bring your story to life through stunning, timeless photography. Let’s create memories that last forever.
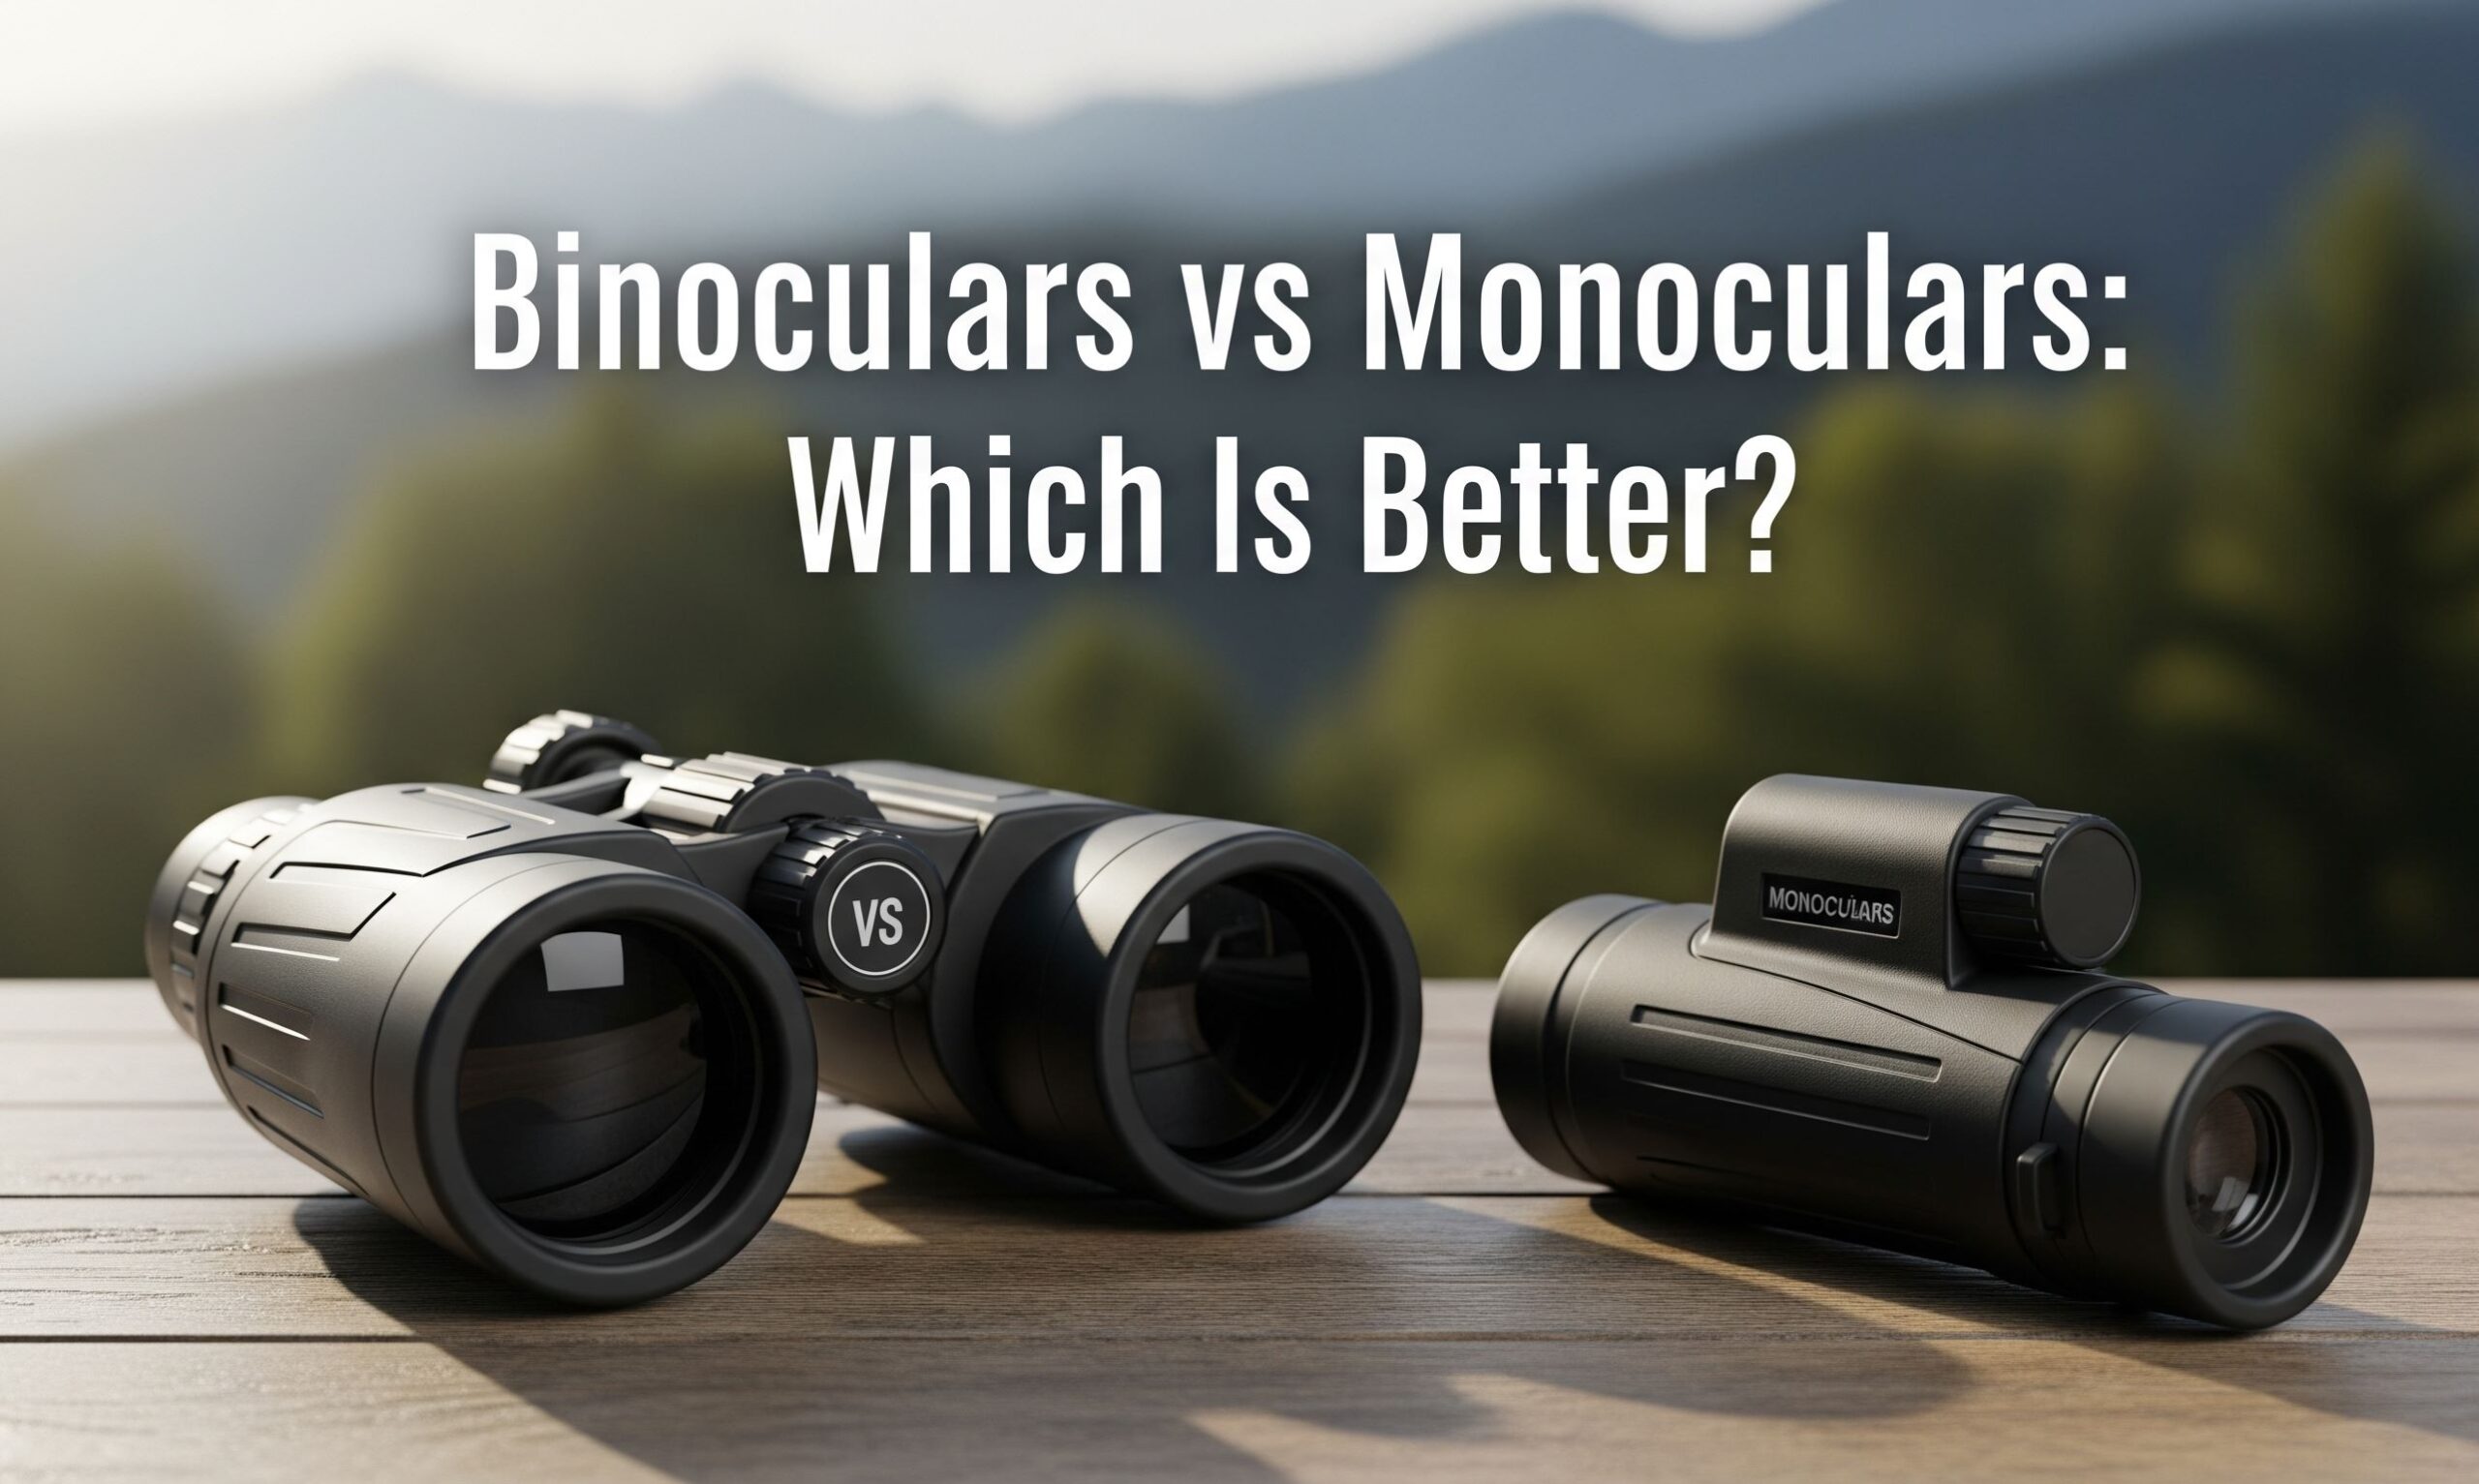
Have you ever wondered why astronomers peer into massive telescopes while biologists hunch over complex microscopes, when both instruments technically…
Discover 50+ creative wedding photography ideas from a professional who documented 300+ weddings. Learn pre-ceremony, ceremony, and reception photography tips…
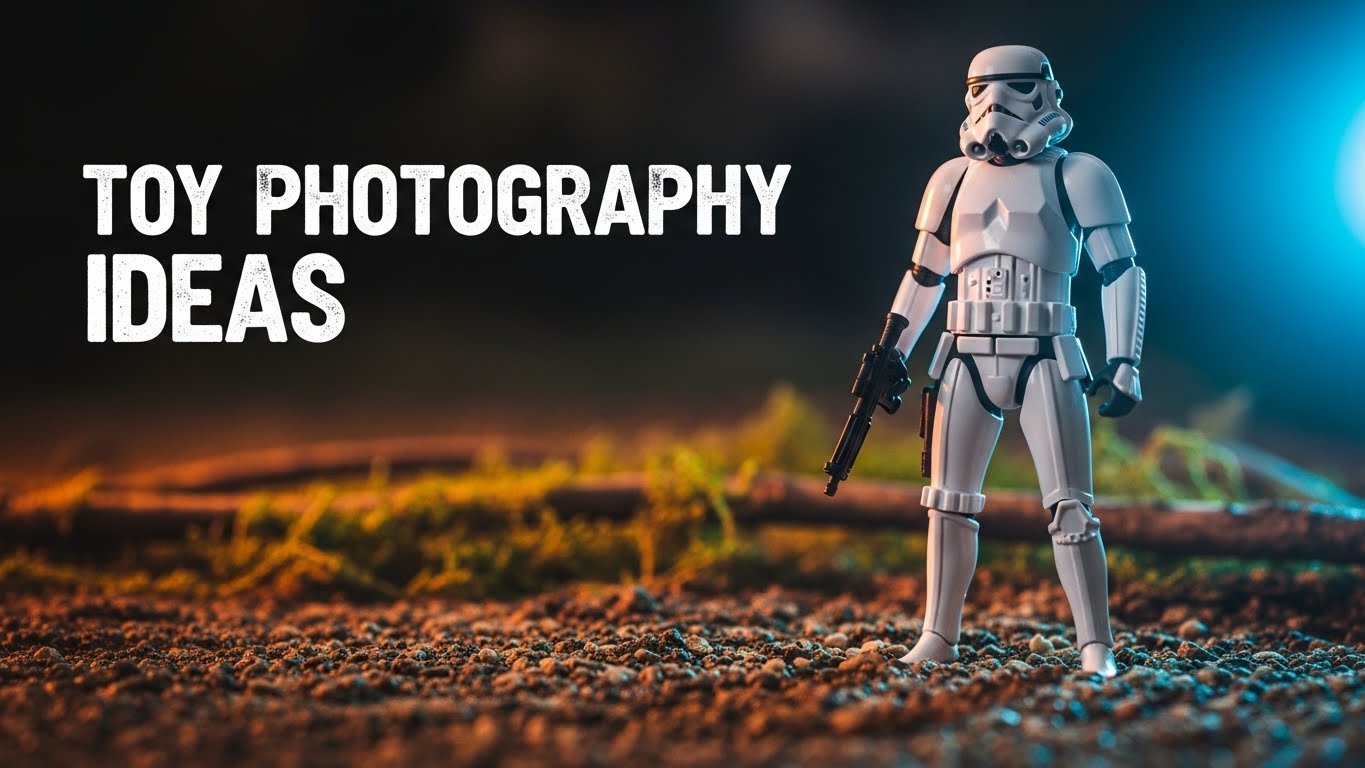
Discover 25+ creative still life photography ideas from beginner to advanced. Learn professional lighting techniques, composition fundamentals, and setup tips…
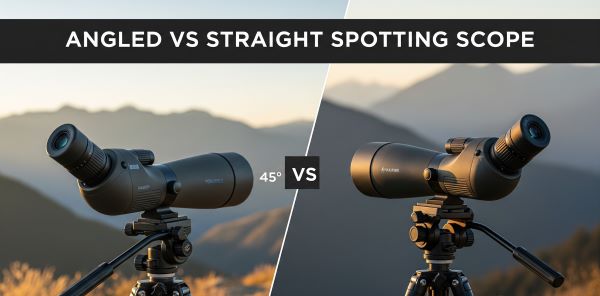
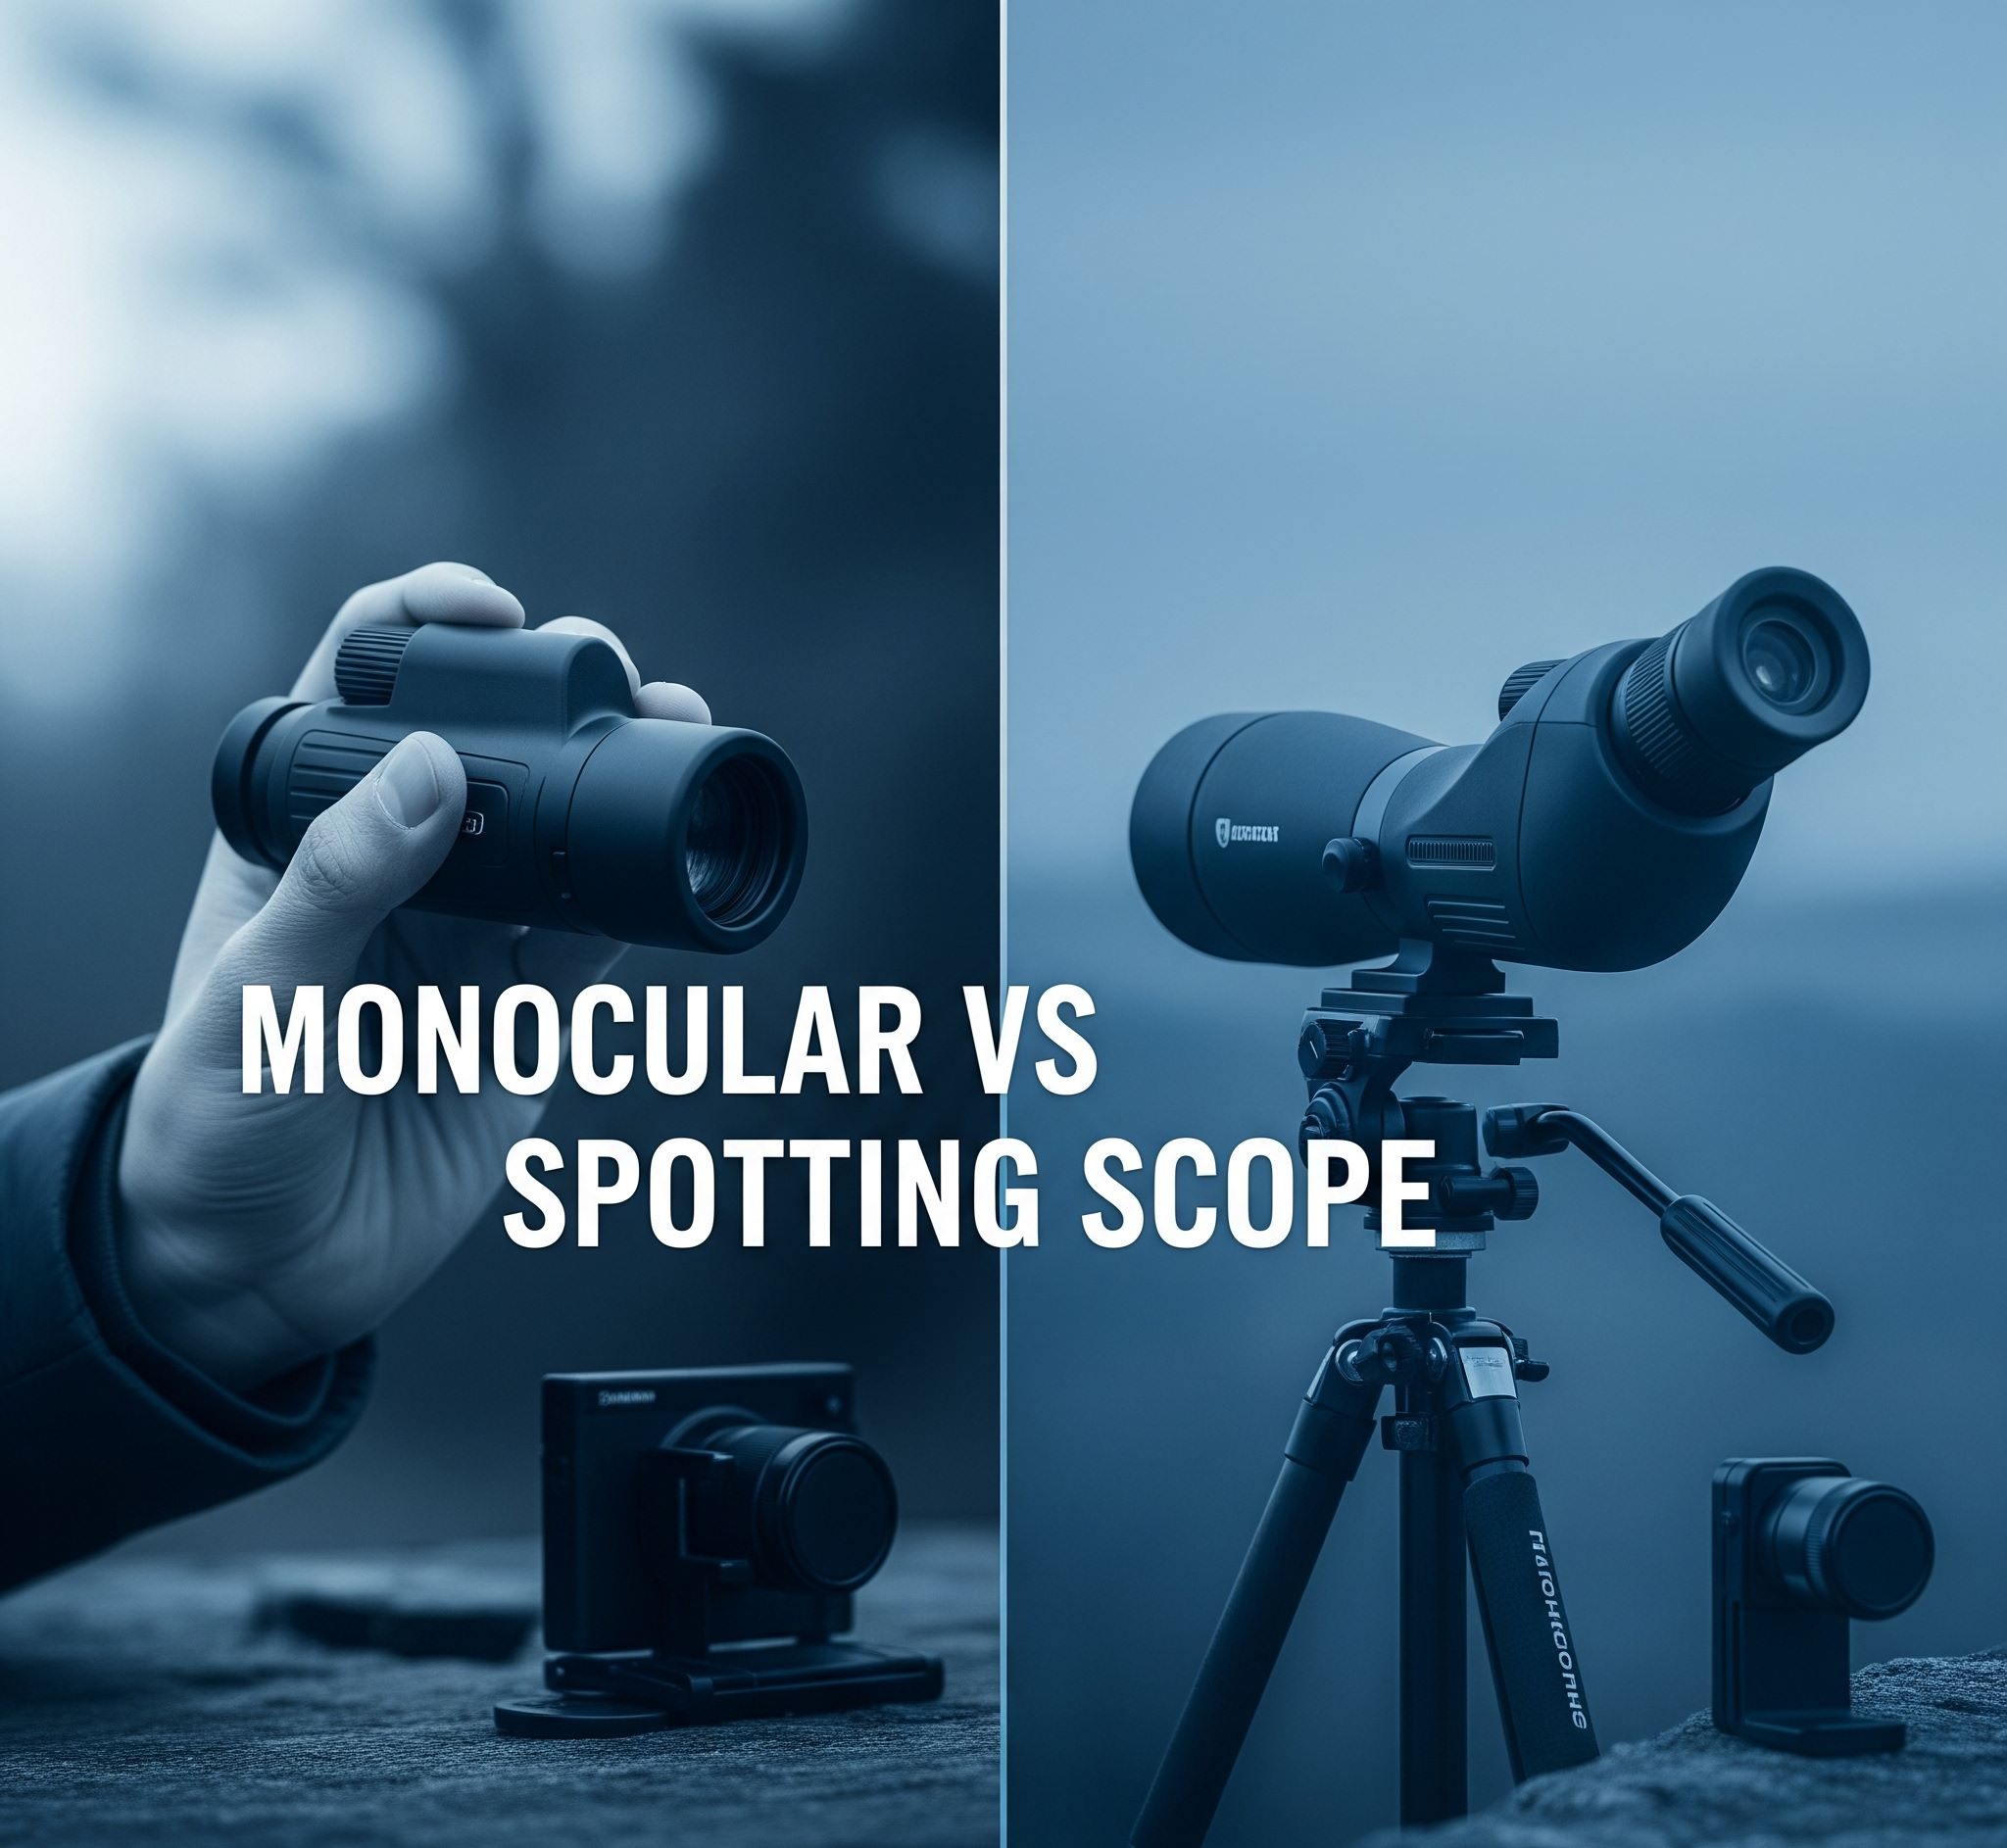
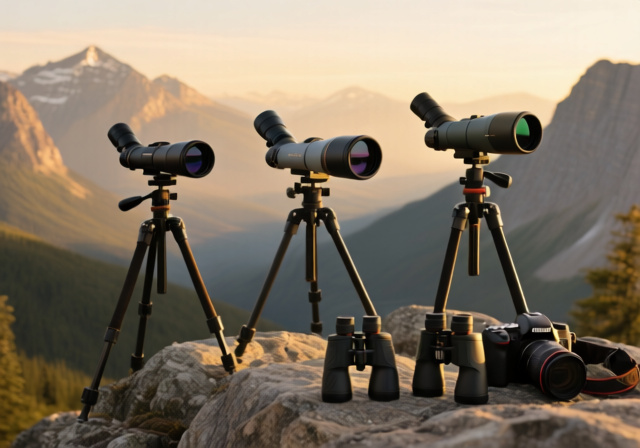
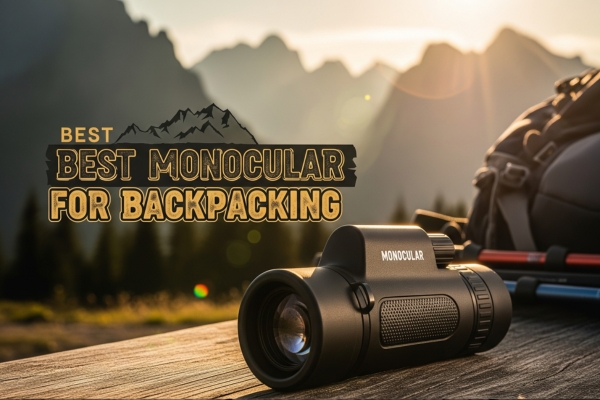
Choosing between a monocular vs spotting scope for photography opens up different creative possibilities for capturing distant subjects. Wildlife photographers,…
Discover real photographer salaries and earnings potential. From $25,000 to $150,000+, learn what photographers actually make by specialization, experience, and…
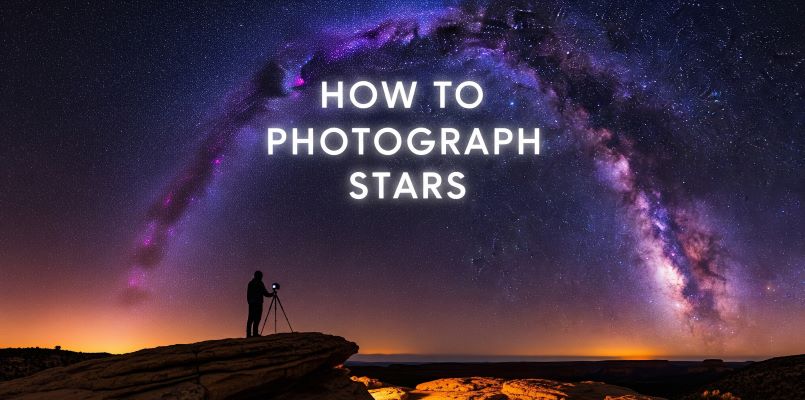
Discover the best locations across Britain to witness spectacular starling murmurations. Expert guide covers top viewing sites, optimal timing, photography…
Expert guide to crow nesting preferences, including ideal tree species, nest heights 25-75 feet, construction materials, and responsible observation techniques…
Discover Hawaii's state bird, the Nene (Hawaiian Goose). This comprehensive guide covers identification, photography locations, conservation success story, and cultural…
We help you capture the world through your lens with creativity and confidence. Explore tutorials, reviews, and stories that bring the art of photography to life.
All images and content are crafted with passion to inspire your next great shot